Showing posts with label Gift Ideas. Show all posts

Wednesday, 27 July 2011

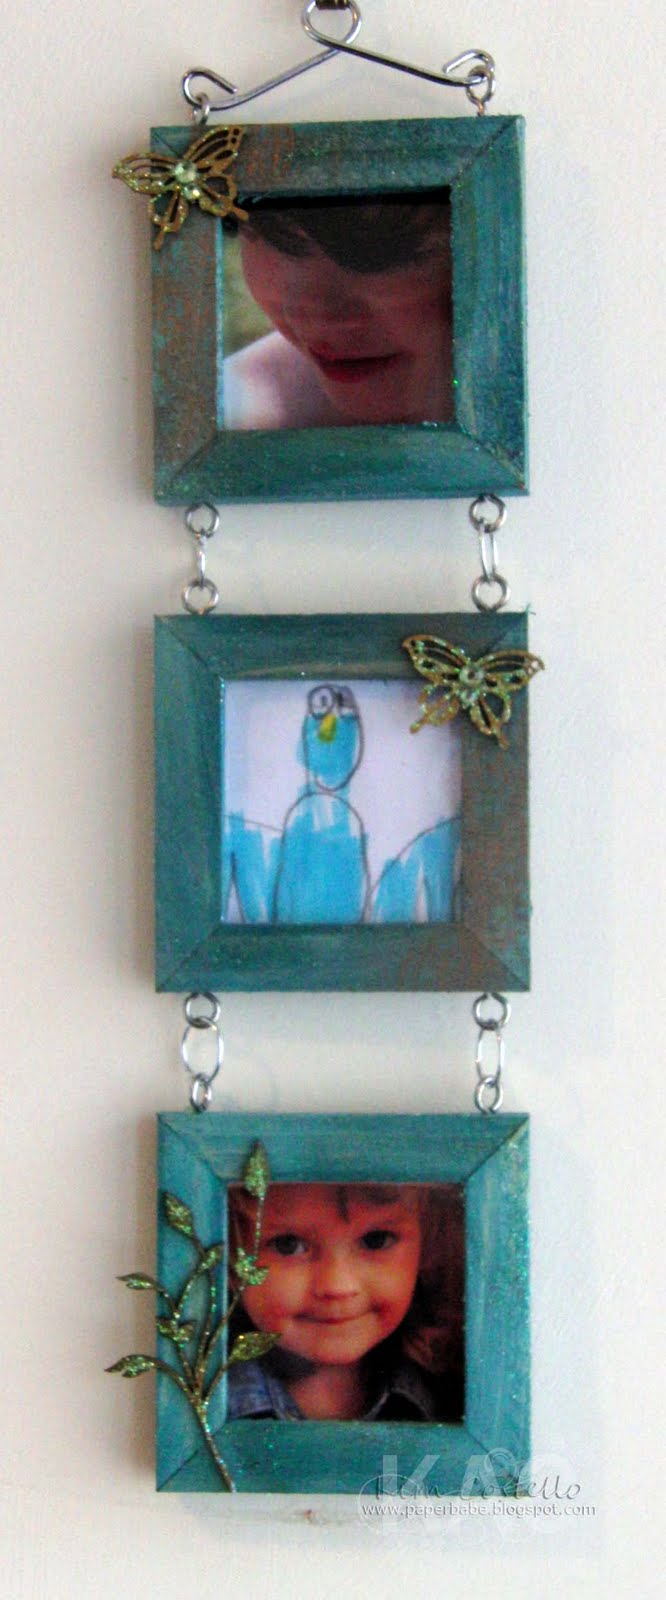
Distress Stain picture frame!

Hello Kim here, wanted to stop by with a little gift idea I have made

I have stained the wood with Tim Holtz Distress Stain - Broken China, love the result!

Then I have stamped Stempelglede - Grunge Collection on the frame and enhanced with perfect pearl powder.


Then embellished with Viva Decor: Glitter Liner - Holo Iridescent, I also rubbed a little of the glitter onto the frame too! 

Okay so... this will be my last post for a while as I'm having a blogging break...
Thank you so much for stopping by hope you have a fabulously creative day!
BiG HuGs Kim :)
Latest Additions at www.quixoticpaperie.co.uk


Thursday, 23 June 2011

Gift Set Tutorial

Good Morning, Kim here today, I have a written a little tutorial on...
 creating a pencil and notepad gift set, so easy to customise and give as a special gift.

I tried without success to upload this tutorial yeserday but Blogger was not playing along, hope it's better late then never as they say... enjoy and hope you have a go!!!

To begin take the cover off a mini notepad or jotter,
remove it on the back too Cut some kraft cardstock to recover the pad remembering to continue the cover to the back.
Use a corner rounder to shape the corners, simply hold a few pages at a time instead of struggling with too many.
Stamp A Pen Friend image on the front with coffee archival ink, ink edges.
Create a box envelope the depth of your pencils, I've used scallop circle die to give decorative flap.
Attach a large metal snap or (circle card and eyelet), then ink edges.
Secure some twine to the back before constructing the envelope.
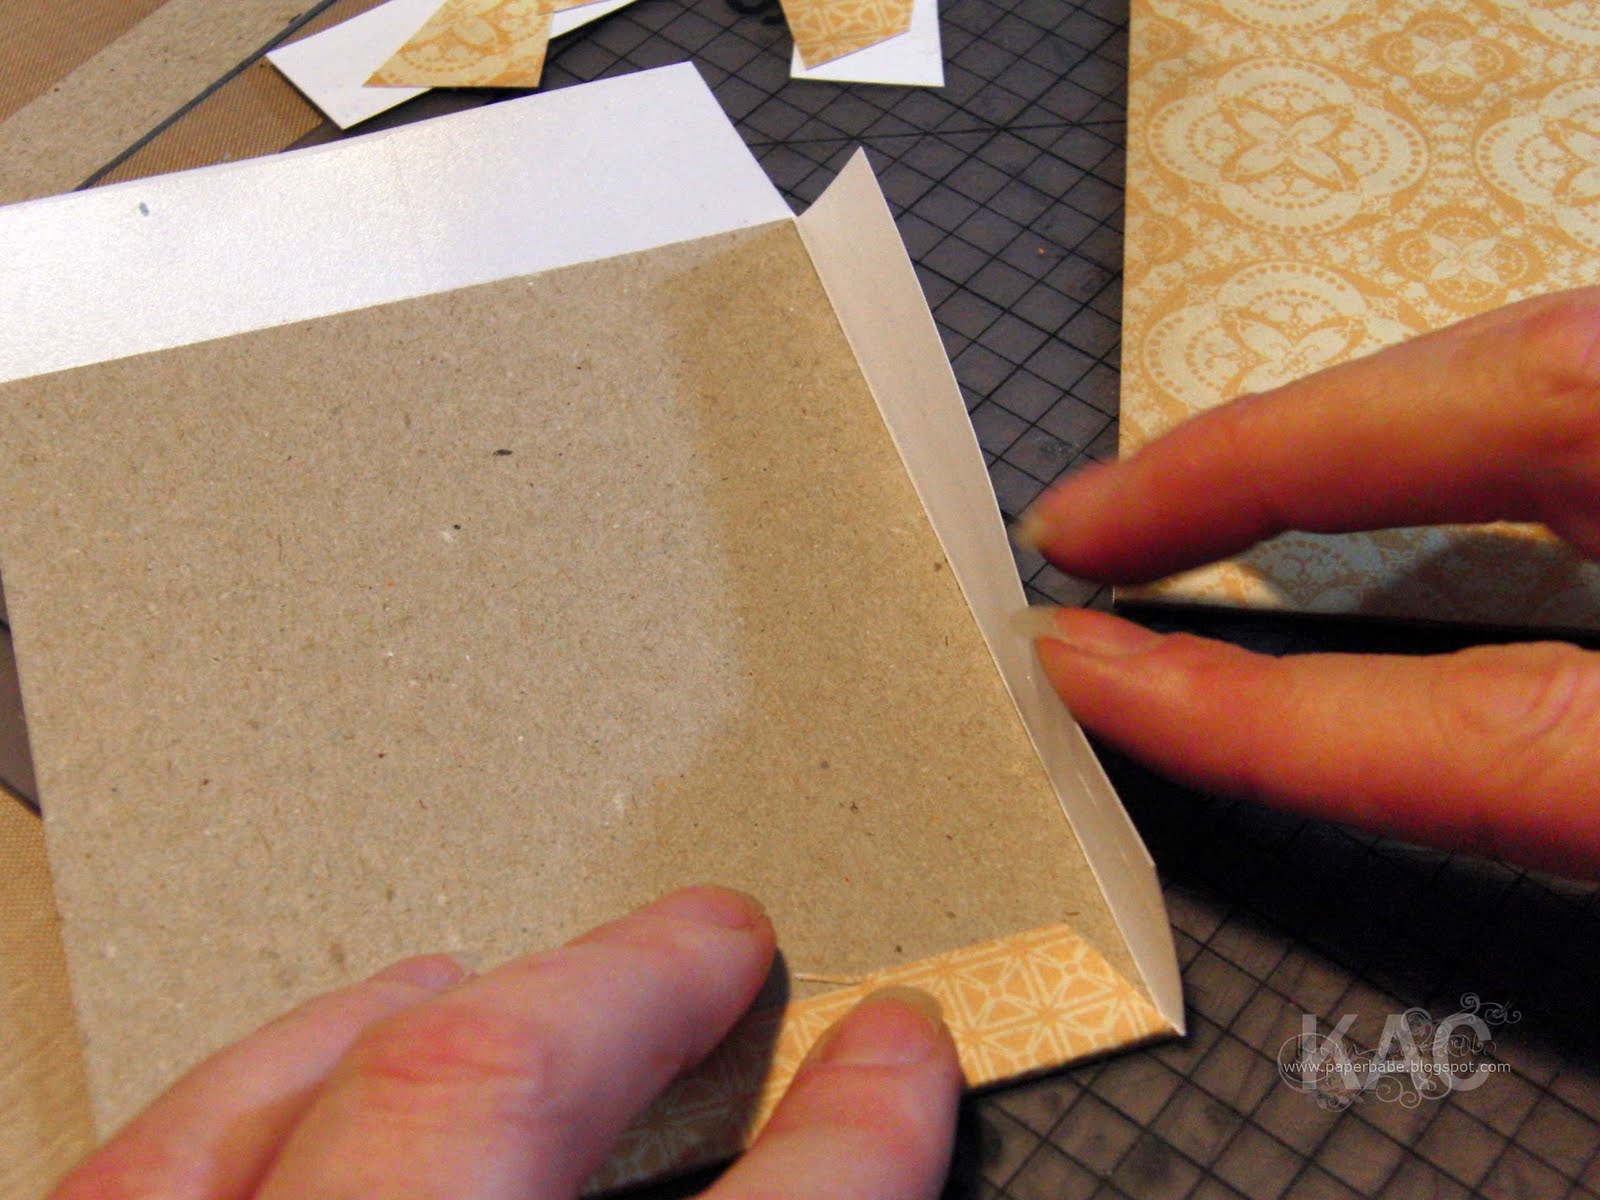
For the cover cut three pieces of chipboard, two just a bit bigger then the box envelope and a spine the depth of pad and envelope.
Adhere patterned paper to the two large covers and ink the edges.
I've cut a strip of sticky back canvas for the spine, lay the covers and spine directly onto the sticky side allowing a gap between pieces.
Then adhere another strip of patterned paper to cover the two ends, and score the channel's to secure.
Next it's simply a matter of adhering the pad and the pencil envelope in place.
I've added more twine for tying a closure.
For the front, stamp and colour your image, fussy cut leaving a border and matt onto black card, then fix on the front with dimensional adhesive.
and here's the copics I've used!
I hope you feel inspired to try creating a little papercrafted gift too!
Thank you so much for stopping by today!
BiG HuGs Kim :)
Wednesday, 11 May 2011

Stamping Art!

Hello it's Kim here, I know it's been a while since I posted on here so many things going on at home but I hope that my little project will make up for it :)

I started out with the intention of creating a card but sometimes the project just follows their own route and wants to be a little different! As you can see I'm still using the wonderful characters in the The Greeting Farm - Stamp Kit- Creeper Crew - Creepin' and I picked the fabulous Sasha for my picture. Sasha reminds me very much of Maoleidigh, I've coloured with copics and her dress is paper pieced.
Inspired to create a background with clouds and sky I used a masking technique by tearing paper cloud shapes and using repositional glue before airbrushing. I had the idea of creating a rainbow, just had to be done with those clouds ROTFL! I did however need to spray a generous amount of colourless blender to make the rainbow a little more transparent!
I obviously have a love of long wild grass I just go with it and the grass gradually grows as I colour and with wild flowers like dandelions... so fun to create. It doesn't show in my photos but I've added just a touch of spica glitter to the flower centres.
Now onto the fun part of my project, Here's a close up of the yummy new MAKE IT CRAFTY LASERCUT CHIPBOARD. I've used swirly corners for three of the corners and the butterflies are from the fine swirls set. I've glued all the laser cut pieces in place before giving the frame a weathered crackle effect. Then a little distress stain was lightly added to age it.
The mount is patterned paper from the gorgeous GRAPHIC 45 ONCE UPON A SPRINGTIME
I added a grunge edge to the cutout of the mount using distress ink and stamping stempleglede grunge collection directly onto the patterned paper.
I used that many colours to complete my picture I needed two pots to picture the copics I used LOL!
 Hope you get a chance to check out all the new yummy stash...


Thanks for stopping by hope it inspire's BiG HuGs Kim :)

LinkWithin

Related Posts Plugin for WordPress, Blogger...