Hi Guys, hope you enjoyed the new Natural Beauty Stamps illustrated by Carmen Medlin for SCACD blog hop yesterday. If you are interested here is how I made the card from my Blog hop make.
Materials:
Papers - Prima Melody; Kraft Card; Book page; Vellum or Tracing paper
Inks - Archival Jet Black; Tim Holtz Ranger Distress Inks Vintage Page
Colouring - Caran d'Ache
Usual Suspects - Glue; Double-sided tape
Tools - WRMK Sew-Easy; WRMK Sew Easy Piercing Mat; Brayer; Paint brush; Heat tool; Paper piercer
Other - Make It Crafty Lasercut chipboard Filigree Jewels; Calico Fabric; Thread; Gesso; Scotch tape; nail file; Perfect Pearls; Golden Gel Medium
Making The Image Background
I started by glueing a book page to a Kraft card support and brayered it down for a to get rid of any winkles then set it aside to dry.
I then covered the old book page with some diluted Gesso, dried it with the heat tool (too impatient to wait!) and added another layer of Gesso.
Stamp Out The Image
I then used Archival ink to stamp out the Carmen Medlin SCACD stamp onto the book page and on a piece of vellum, but I didn't have any vellum so I've actually used tracing paper. Allow the ink to dry then line up the two images and tear to the size you want the image to be on the card. Also tear the edges of the Kraft card blank.
TIP - Be very careful not to move the stamp on the vellum / tracing paper otherwise it will smear and smudge.
TIP 2 - When using unmounted rubber stamps use a little bit of glue stick to stick the back of the stamp to the acrylic block, you can use other products such as Tack n' Peel, or sticky sprays instead, but glue sticks work just as well and wash off easily. I then use a foam mat under the item to be stamped to get a good image. Practice on spare paper first to find out how hard you need to press to get a clear image.
Colouring On Vellum / Tracing Paper
I then used coloured pencils to colour the stamped image on the tracing paper, pressing lightly and building up the colour in layers.
Distress The Designer Paper
Next might not be for everyone, I know many of you might feel it a bit of a crime to distress those lovely designer papers, but sometimes a girl has got to do what a girl has got to do! Don't judge me too harshly!
So a bit of paper distressing. First get those rips in the surface using Scotch tape, torn in thin strips, burnished onto the paper with my nail and pulled up, practice on a spare piece or in a place that wont show to see how hard you have to burnish and pull to get the effect you want.
I topped this off with some sandpaper distressing and then lightly inked with the Distress ink and added a touch of Perfect Pearls. Also use the Distress ink on the edge of the book page, Kraft Card blank and a small torn strip of spare book page.
Prep The Papers For Sewing
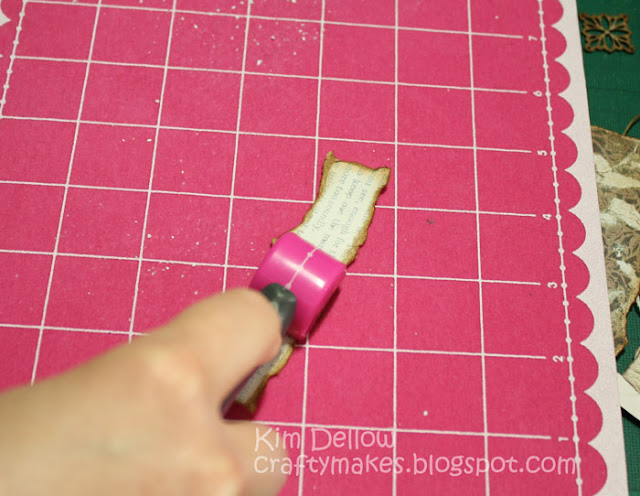
Using the WRMK Sew-Easy tool pierce some sewing holes in the small strip of spare book page. Tear a piece of fabric and layer them on the distressed designer paper and stitch them in place.
Stick the book page image to the designer paper with double-sided tape. Carefully line up the two stamped images and prick holes to stitch the image down.
Finish With Embellishments
I added a bit of Distress ink to the Make It Crafty lasercut chipboard then brushed with Perfect Pearls and used Golden Gel Medium to stick the embellishments down.
There you go, all distressed and vintage-fied!
Enjoy.


Love love love it!!!!! Great tutorial, definitely will try it.
ReplyDeleteThanks for sharing
Paper Dreams